Buy Now, Pay Later


Getting a standing desk to the right height is not complicated. But it is one of the most overlooked parts of the setup process, and getting it wrong produces most of the complaints people have about standing desks: wrist pain, neck strain, back discomfort, and fatigue that has nothing to do with standing itself.
This guide gives you the exact numbers, the reasoning behind them, and a simple process for setting up both your sitting and standing heights correctly the first time. It takes about ten minutes to apply once you have your desk.
The Core Rule: Elbow Height
Everything in desk ergonomics starts from one number: your elbow height when standing.
Stand up straight in the shoes (or lack of shoes) you wear most often when working. Let your arms hang naturally at your sides. Bend your elbows to roughly 90 degrees so your forearms are parallel to the floor. Measure from the floor to the bottom of your forearm at the elbow crease. That distance is your elbow height.
Your ideal standing desk height is your elbow height, or within 2 to 3cm below it. This allows your wrists to rest lightly on the desk surface with your shoulders relaxed and your forearms approximately level. It is the position that puts the least strain on your shoulders, neck, and wrists during long work sessions.
For your sitting position, apply the same principle: your elbows should be at approximately desk height, with your wrists resting comfortably and your forearms parallel to the floor or angled very slightly downward. Your chair height determines this, not the desk, but the desk needs to be low enough to accommodate it.
Quick Reference Height Chart
Use this table as a starting point, then fine-tune based on the elbow measurement above. These are averages based on standard body proportions. Your actual measurements may differ by 2 to 5cm.
| Your Height | Approximate Sitting Height | Approximate Standing Height |
|---|---|---|
| 155cm (5'1") | 60 to 63cm | 88 to 92cm |
| 160cm (5'3") | 62 to 65cm | 91 to 95cm |
| 165cm (5'5") | 64 to 67cm | 93 to 97cm |
| 170cm (5'7") | 66 to 69cm | 96 to 100cm |
| 175cm (5'9") | 68 to 71cm | 99 to 103cm |
| 180cm (5'11") | 70 to 73cm | 102 to 106cm |
| 185cm (6'1") | 72 to 75cm | 104 to 109cm |
| 190cm (6'3") | 74 to 77cm | 107 to 112cm |
| 195cm (6'5") | 76 to 79cm | 110 to 115cm |
These numbers assume flat ground, no shoes for standing height measurement, and a standard upright posture. If you work in thick-soled shoes or bare feet, measure accordingly. A 2cm heel adds roughly 2cm to your ideal standing height.

Step-by-Step Setup Process
Follow these steps when setting up your desk for the first time. This takes about 10 minutes and makes a significant difference to how comfortable the desk feels from day one.
Step 1: Find Your Standing Height
Stand on the floor in your normal work attire. Relax your shoulders. Bend both arms to 90 degrees. Have someone measure from the floor to the bottom of your forearm near your elbow, or use a tape measure propped against a wall and check the height yourself.
Write down this number. It is your target standing desk height. For most people it falls between 90cm and 110cm from the floor.
Step 2: Raise the Desk to Your Standing Height
Use the manual adjustment buttons to raise the desk to the height you measured. Place your hands on the desk surface and check: your shoulders should be relaxed (not raised), your elbows should be at roughly desk height or 1 to 2cm above, and your wrists should rest comfortably without bending up or down.
Fine-tune up or down 1cm at a time until the position feels natural. There is no exact universal number. The measurement is a starting point.
Step 3: Save This as Preset 1
Once you have the standing height dialled in, save it as Preset 1 on your Deskup keypad. On Deskup desks: press and hold the M (memory) button until the display flashes, then press the 1 button. The display will confirm the save. You now have one-touch access to your standing height from this point forward.
Step 4: Set Your Sitting Height
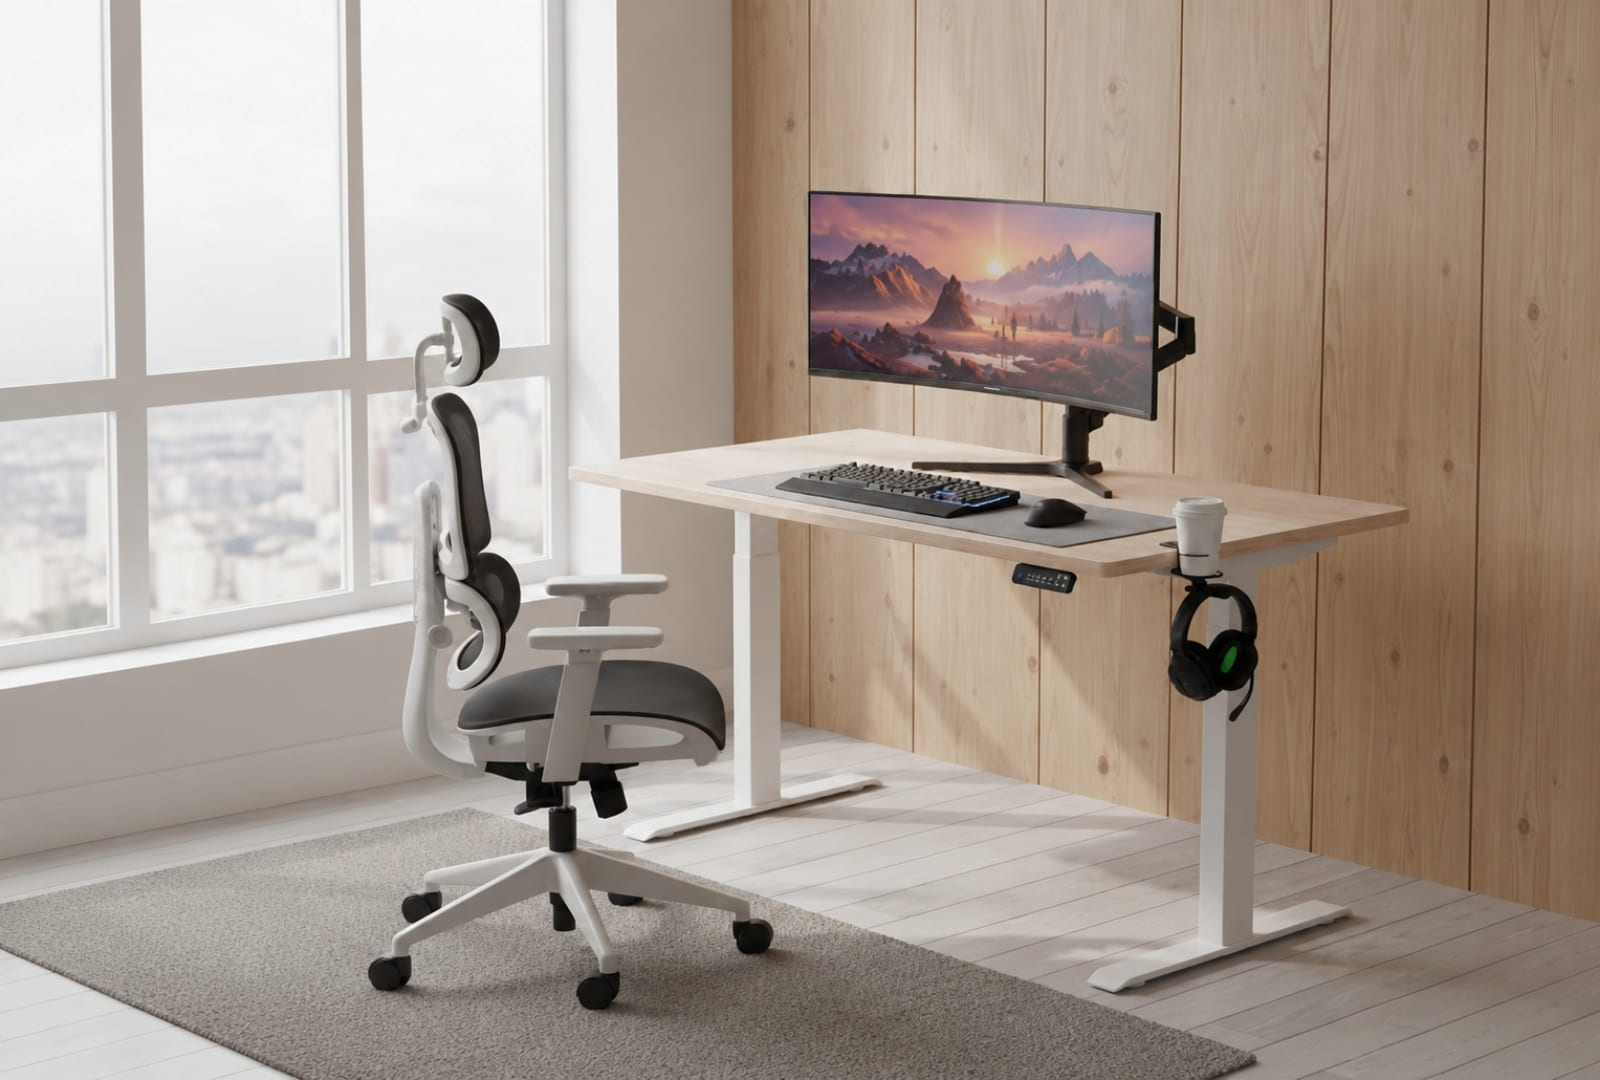
Sit down in your chair and adjust the chair height so your feet are flat on the floor and your thighs are approximately parallel to the floor. This is your correct chair height.
Now lower the desk until it reaches your elbow height while seated. Check: your forearms should rest on the desk comfortably with your shoulders relaxed and your neck in a neutral position looking slightly downward at your screen. If the desk cannot go low enough for your seated position with your chair properly set, you may need to lower your chair slightly and use a footrest to maintain the foot position.
Step 5: Save This as Preset 2
Save your sitting height as Preset 2. On Deskup desks: press and hold M until the display flashes, then press 2. You now have two presets: one touch to stand, one touch to sit. This is the single most effective thing you can do to ensure you actually use the standing function regularly.
Step 6: Set Up Your Monitor
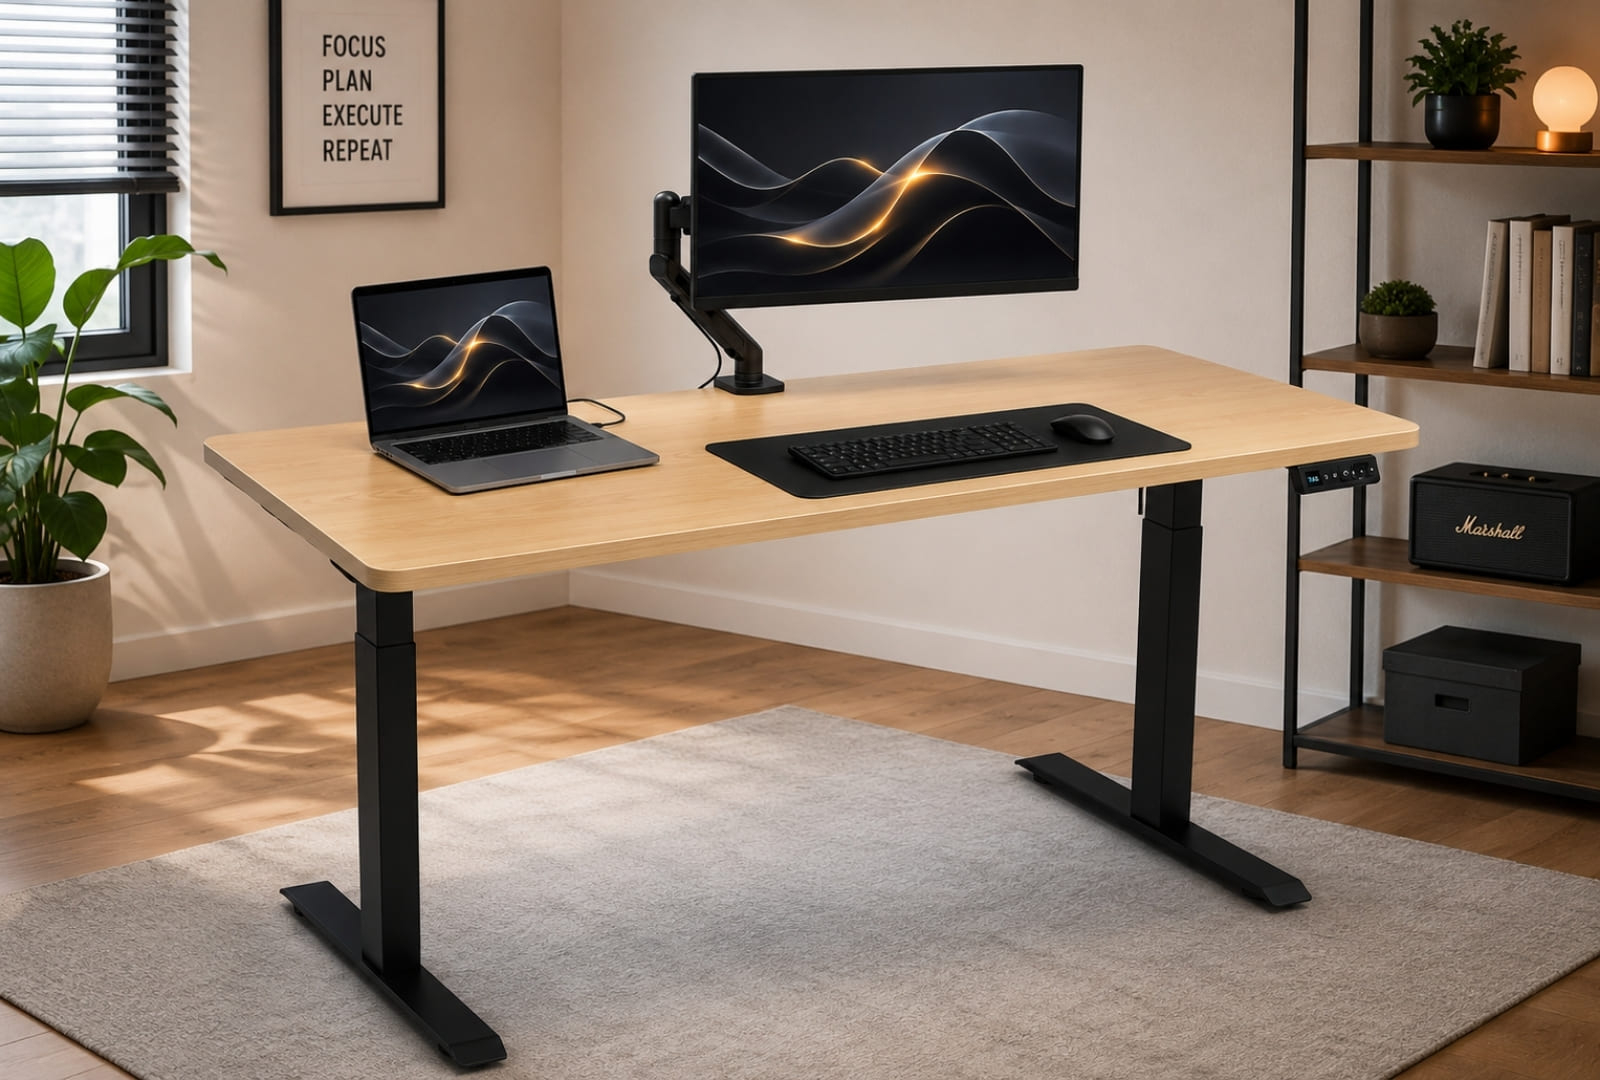
Your monitor height is independent of your desk height, but they are connected when you change positions. If your monitor sits directly on the desk surface, its height changes every time you adjust the desk, which is exactly what you want: standing position, monitor at eye level; sitting position, monitor still at approximately eye level.
The rule for monitor height: the top of the monitor should be at or very slightly below your eye level. If you use a monitor arm, you can fine-tune this independently of the desk height. If your monitor sits on a fixed stand, the desk position determines its height.
A monitor arm is the single best accessory upgrade for a sit-stand desk. It lets you set your monitor to the exact right eye level independently of desk height, and it frees up significant desk surface. Deskup stocks single and dual monitor arms in the Accessories section at deskup.com.au.

Fixing Common Height Problems
If you are experiencing discomfort despite having a sit-stand desk, the issue is usually one of these:
Neck pain or upper back tension when standing
Almost always a monitor height problem. Your monitor is too low, so you are looking down with your neck at a sustained angle. Raise the monitor so its top edge is at eye level, or very slightly below. A monitor arm makes this adjustment easy.
Wrist pain or forearm fatigue
Usually a desk height problem. If your desk is too high, your shoulders lift to compensate, creating tension in the trapezius muscles. If too low, your wrists angle upward to reach the keyboard. Recheck your standing elbow height measurement and adjust the desk accordingly. A 1 to 2cm change can make a significant difference.
Lower back pain when standing
Often a footwear issue: standing on a hard floor in flat shoes or bare feet for extended periods creates lower back strain. An anti-fatigue mat makes a measurable difference. Deskup stocks anti-fatigue mats in the Accessories section. Shifting your weight, doing small movements, or placing one foot on a low stool also helps distribute load.
Fatigue after short periods of standing
This is normal when you first start using a standing desk. Your postural muscles are not conditioned for prolonged standing. Start with 15 to 20 minute standing intervals and gradually extend. Most people reach 45 to 60 minute intervals comfortably within a few weeks. Do not start by standing for 4 hours on day one.
The desk is at the right height for me but wrong for another person who uses it
This is one of the key use cases for memory presets. Each person can save their own sitting and standing heights as different presets on the Deskup keypad. A shared desk with two users can store up to 4 presets, enough for two users to each have a sitting and standing position saved.

Height Setup for Dual Monitor Setups
Dual monitor setups add a layer of complexity to height calibration, particularly when monitors are of different sizes or are arranged at an angle rather than flat.
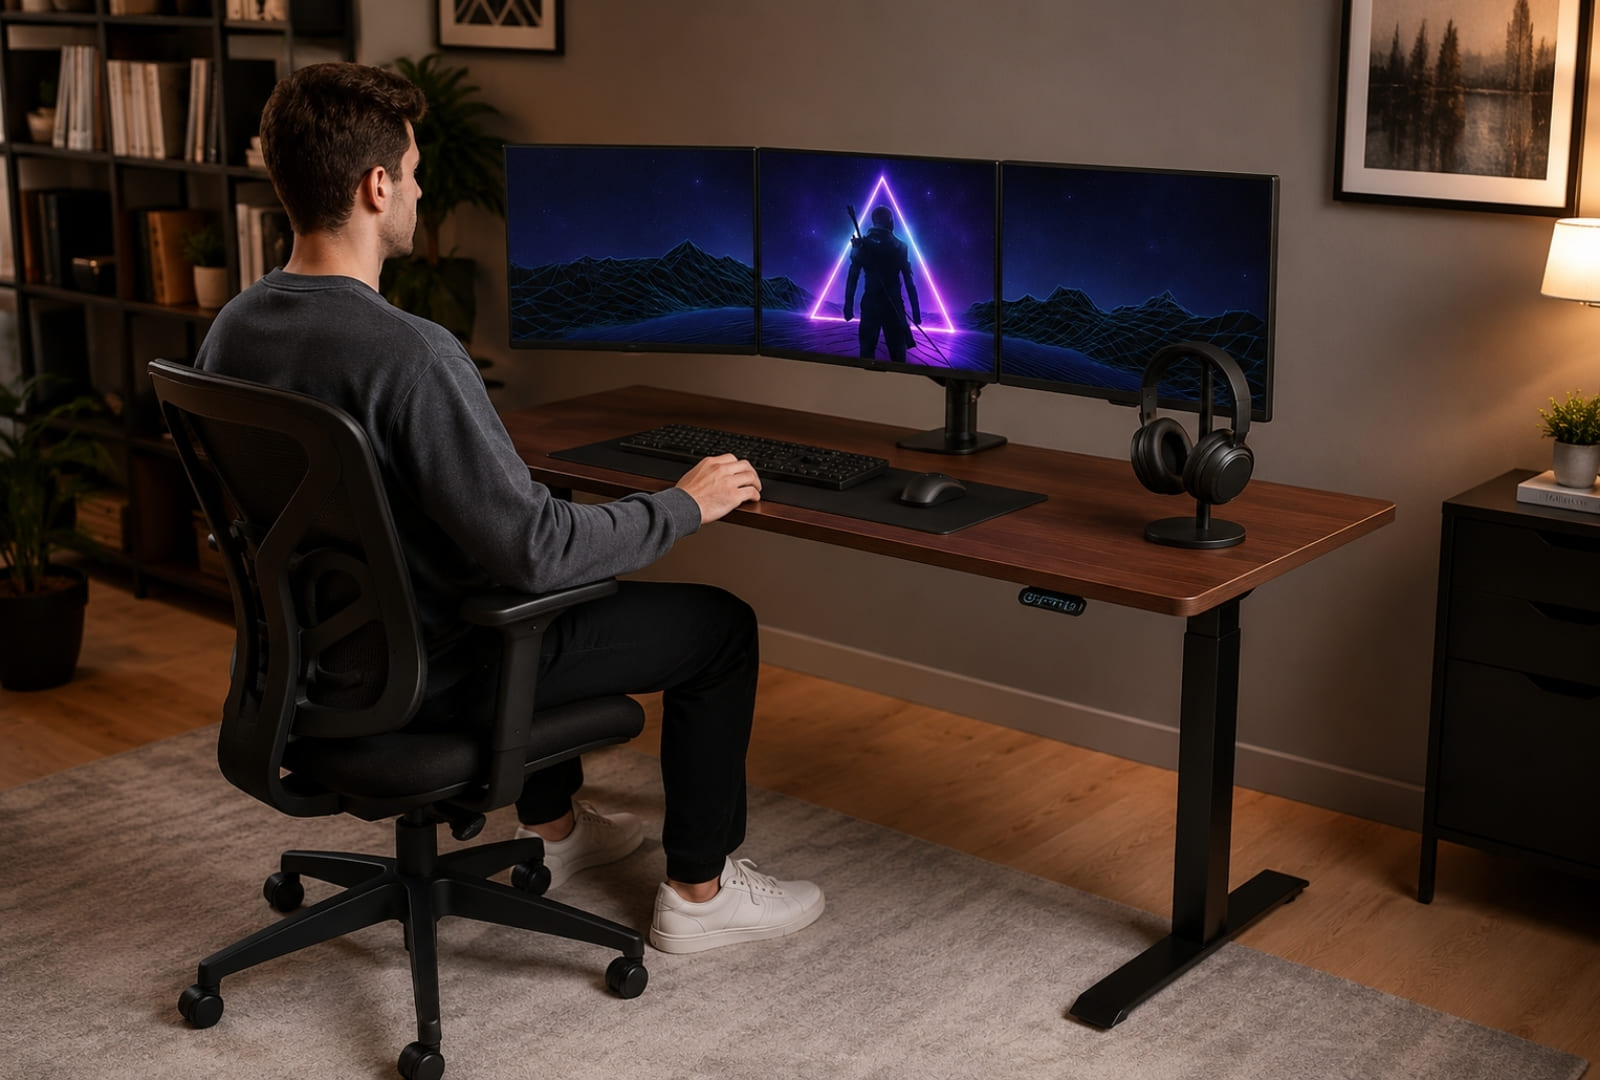
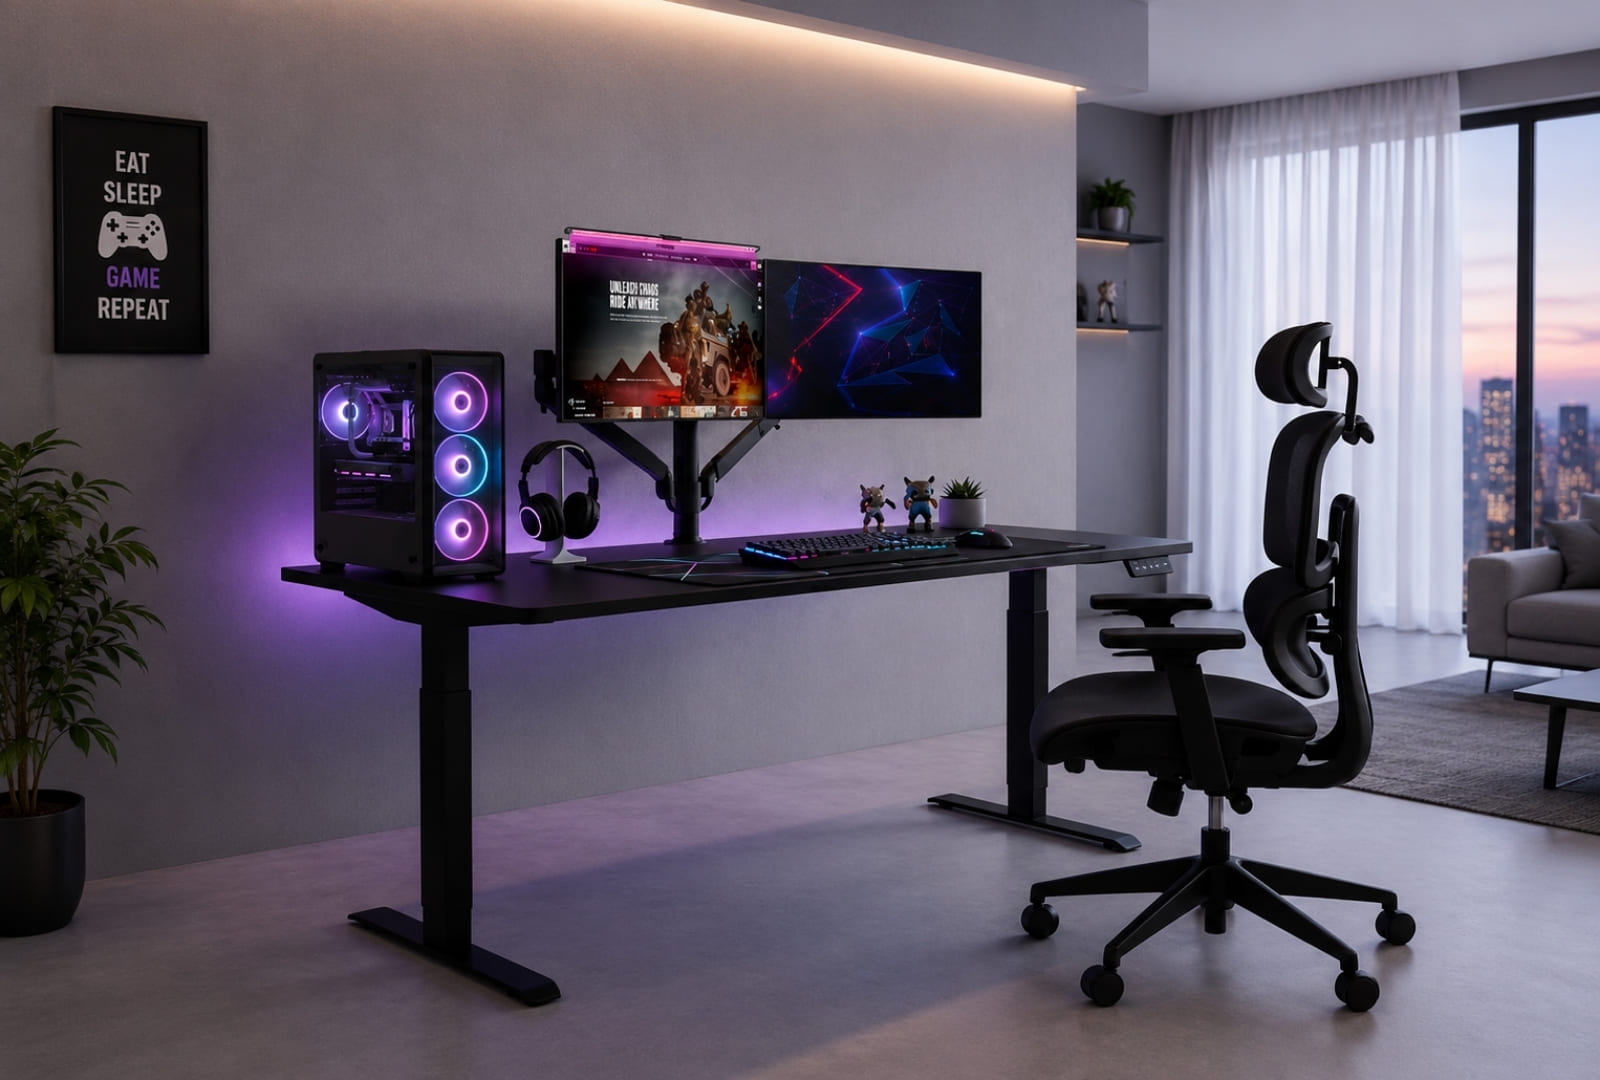
Side-by-side dual monitors
Both monitors should be at the same height, which means you need a dual monitor arm or two individual arms set to the same elevation. Apply the same eye-level rule to both screens. If you use one monitor as a primary and one as a secondary reference screen, the primary sits at eye level and the secondary can be angled slightly. If you switch between them frequently, keep both at the same height to avoid repeated neck rotation.
Stacked monitors
A less common configuration where monitors are placed one above the other. The lower monitor should be at eye level for the tasks you do most. The upper monitor is for reference content you look at less frequently. This works better for some than others: it requires less horizontal desk width but more vertical movement of gaze.
Laptop plus external monitor
The laptop should not be used as your primary screen unless it is on a stand that raises it to eye level. A laptop at desk height requires a significant downward gaze angle that causes neck strain within minutes. Use the external monitor as your primary screen at eye level, and use the laptop screen as a secondary reference if needed, ideally on a laptop stand.

Building the Habit: Actually Using the Standing Function
The most common feedback from people who own a sit-stand desk for six months is that they do not stand as often as they intended when they bought it. This is a habit problem, not a hardware problem. Here is how to build the habit reliably.
The 30-30 rule as a starting point
Sit for 30 minutes, stand for 30 minutes, repeat. This is a simple ratio that most people can maintain without it feeling disruptive. Over time, many people naturally settle into longer intervals of 45 to 60 minutes in each position as their stamina increases.
Use an existing trigger
Rather than relying on a timer, link standing to something you already do. Stand when you start a meeting. Stand when you begin a new task or close a completed one. Stand for the first 30 minutes of the afternoon. Linking the height change to an existing behaviour is more reliable than a freestanding reminder.
Make it frictionless
The reason memory presets matter so much: a desk that requires 30 seconds of manual adjustment every time you want to change position will be used far less than a desk where you touch one button and it moves. Set your presets on day one. Use them every day. The habit will build around the ease of the action.
Start with tasks that suit standing
Some tasks feel natural standing, others feel awkward. Standing works well for: reading documents, listening to calls, reviewing emails, and any task that does not require intense fine motor work. Deep writing or detailed design work often feels better sitting. Start standing for the tasks that suit it and you will build the habit faster than trying to stand for everything at once.

Quick Reference Card
Print this or save it. Set your desk to these heights, adjust by 1 to 2cm based on feel, then save as presets.
Setting Up a New Deskup Desk?
If you are setting up a Deskup desk for the first time, the team is available to help. Call 1300 414 861 or email [email protected] with your desk model and any setup questions. We are happy to walk through the keypad setup, preset programming, and any calibration steps specific to your model.
All Deskup desks ship with an assembly guide. If you have misplaced yours or need a digital copy, contact us and we will send it across.
Accessories that improve the height setup experience: Monitor arms (single and dual), anti-fatigue mats, laptop stands, and cable management systems are all available at deskup.com.au/accessories. All ship from our Australian warehouse.